It is crucial to select an appropriate sealant for construction finishes in order to guarantee enduring results, minimize maintenance costs and improve the building performance.
This guide gives a comprehensive examination of modern sealants, including the science of how they work, and discussing their formulation for specific surface applications, as well as offering practical application guidance and maintenance protocols. It enables facility managers, building maintenance professionals to understand sealant chemical composition, calculate environmental impacts and to gather actionable insights to help making informed sealant decisions for protecting their investments in these properties.
Why Sealants Matter in Commercial Construction
Sealants: More Than Just Aesthetics
Sealants are vital protectors for commercial buildings, impacting costs, maintenance, and structural health—not just appearance.
Key Benefits
- Cost Savings: Proper sealing cuts energy use by up to 15% (via better insulation) and reduces cleaning needs. Sealed floors resist stains and last 3-5 years longer before refinishing.
- Durability: Prevent moisture damage (like rot, mold, and weakened structures) by blocking leaks.
- Compliance: Meet building codes (ASTM C920) and certifications (LEED) with low-VOC, non-porous sealants. Required in hospitals and kitchens to stop germs.
Climate-Specific Needs
- Coastal Areas: Salt-resistant formulas prevent corrosion.
- Cold Climates: Flexible sealants handle freeze-thaw cycles.
- Sunny Regions: UV-resistant options prevent weathering.
Long-Term Value
Modern sealants last 15-20 years (vs. 5-7 years for older types), offering better ROI despite higher upfront costs. By reducing heating/cooling leaks, they also help lower a building’s carbon footprint.
Takeaway: Choose sealants based on your climate, building use, and sustainability goals—they’re a smart investment in your building’s future.
Sealant Basics Made Simple
Sealants work differently based on their chemical makeup and how they harden.
Here’s a breakdown of common types and their best uses:
1. Types of Sealants
- Silicone: Made of flexible silicon-based materials, these handle extreme temperatures (from -65°F to 400°F) and resist UV damage without extra additives. Great for outdoor use (like windows or roofs).
- Polyurethane: Forms stretchy bonds, can handle 25-50% joint movement, and sticks well to surfaces like concrete or metal. Needs UV protection for outdoor use.
- Hybrids (STPE): Mix silicone’s weatherproofing with polyurethane’s strong grip and paintability. Good for projects with mixed materials.
2. How They Work
- Surface sealants (like silicone) stay on top to block water.
- Penetrating sealants (e.g., silane) soak into porous materials (like concrete) and create an invisible water barrier inside, letting vapor escape to avoid damage.
3. Testing & Durability
Modern sealants are tested for water resistance, weatherproofing, and chemical exposure (like oils or cleaners). Always match the sealant to the environment—harsh chemicals or constant sun need specialized formulas.
4. Installation Tips
- Joint sizing: Width should be 4x the expected movement (e.g., if a joint moves ¼ inch, make it 1 inch wide).
- Depth: For small joints, match depth to width; for larger ones, use half the width (never less than ¼ inch).
- Use backer rods to shape the joint and prevent uneven adhesion.
5. Choosing the Right Sealant
- Movement: Silicones handle ±50% stretch, polyurethanes ±25%, and acrylics ±7.5%.
- Cost & Use:
- Acrylic: Affordable, paintable, but not for wet areas.
- Polyurethane: Mid-price, sticks to most surfaces, good for indoor/outdoor (if shaded).
- Silicone: Long-lasting outdoors but pricier; check compatibility with materials.
Key Takeaway: Pick based on how much the joint moves, the materials involved, and exposure to weather/chemicals. Simplify choices by prioritizing your project’s biggest needs!
Sealant Solutions for Different Materials
Here’s how to choose and apply sealants for specific surfaces:
1. Concrete & Masonry
- Problem: Porous, alkaline surfaces need breathable protection.
- Solutions:
- Densifiers (like lithium silicate): Fill pores to harden surfaces by 40% without changing looks.
- Traffic areas: Use silane-siloxane blends—cut water absorption by 80-95% but still let moisture escape.
- Salt-prone areas: Fluorinated sealers resist corrosion (cost: 0.85−0.85−1.50/sq.ft).
- Historic masonry: Potassium silicate sealers protect without trapping moisture.
- Application: High-pressure spray for dense concrete; gentle flooding for porous surfaces.
2. Metal, Glass & Composite Joints
- Problem: Different materials expand/contract at varying rates.
- Solutions:
- Metal/glass joints: Use non-staining silicones (±50% movement, -65°F to 400°F).
- Aluminum curtain walls: Neutral-cure silicones prevent green stains; meet ASTM C1184 standards.
- Metal-to-concrete: Flexible polyurethane/polysulfide sealants resist chemicals and movement.
- Prep Work: Clean surfaces with alcohol, use primers, and install bond-breaker tape.
3. Wood & Porous Materials
- Problem: Wood swells/shrinks and can bleed tannins.
- Solutions:
- Exterior wood: Breathable oils (UV/mold-resistant) avoid cracking.
- Engineered wood: Polyurethane sealants (test compatibility first!).
- Wood-to-metal/glass: Silicones with adhesion promoters handle movement.
- Application Tips:
- Treat end-grain wood with diluted sealant first.
- Apply at 65-75°F and 30-50% humidity for best results.
Key Takeaway: Match sealants to the material’s needs—consider movement, moisture, and exposure. Proper prep and application are just as important as the product itself!
Eco-Friendly Sealants: Balancing Performance & Sustainability
Sealants impact the environment from production to disposal. Here’s how the industry is evolving to reduce harm while maintaining quality:
1. Reducing Harmful Emissions
- Old Problem: Traditional solvent-based sealants release high VOCs (250-600 g/L), worsening air pollution.
- New Solutions: Water-based and high-solids formulas now cut VOCs to <50 g/L without sacrificing performance.
2. Renewable Materials
- Bio-Based Options:
- Soy polyurethanes: Cut carbon footprint by 36% vs. petroleum-based versions.
- Castor oil sealants: Offer chemical resistance with 15-25% renewable content.
- Performance: Match conventional products while using sustainable resources.
3. Healthier Indoors
- Certifications: Greenguard Gold ensures low chemical emissions (TVOC ≤0.22 mg/m³).
- Best Picks: Water-based acrylics and silicones are top choices for schools/hospitals.
- Transparency: Health Product Declarations (HPDs) reveal ingredients for safer choices.
4. Durability = Sustainability
- Longevity Matters: High-end silicones last 20+ years (vs. 5-7 years for basic acrylics), reducing waste and replacement costs.
- Cost Savings: Premium products pay off long-term by avoiding frequent reapplication.
5. Responsible Disposal
- Recycle: Many brands use recycled packaging or take back containers.
- Waste Tips:
- Water-based sealants: Harden with cat litter before trashing.
- Solvent-based: Treat as hazardous waste.
6. Meeting Green Standards
- LEED Credits: Use low-VOC sealants (certified by CDPH, SCAQMD, or CARB).
- Bonus Points: Products with Environmental Product Declarations (EPDs) boost sustainability scores.
Key Takeaway: Modern sealants prove eco-friendly choices don’t mean compromising performance. Prioritize low-VOC, durable options with clear sustainability certifications!
Sealant Application
1. Surface Prep Essentials
- Concrete/Masonry:
- Wait 28+ days after pouring.
- Sand off weak surface layers, vacuum, and wipe with solvent.
- Metal: Clean with isopropyl alcohol (stainless steel/aluminum) or MEK (galvanized metal).
- Wood: Sand smooth (120-150 grit), remove dust, and check moisture (8-12%).
2. Weather Matters
- Ideal Conditions: 40-90°F, humidity <80%.
- Avoid Condensation: Surface temp should be 5°F+ above dew point.
- Cold Weather: Use special sealants (works down to 20°F) but expect longer cure times.
- Hot Weather: Apply early morning to prevent drying too fast.
3. Joint Design Basics
- Size: Width = 4x expected movement. Depth = ½ width (min ¼”).
- Backer Rods: Use to shape joints and prevent sticking on all sides.
- Expansion Joints: Size based on how much materials expand/contract.
4. Application Tips
- Apply Smoothly: Avoid air bubbles by using steady pressure.
- Tooling: Shape with a tool (dry for silicone, slightly wet for polyurethane) for a curved finish.
- Masking Tape: Keep edges neat—remove right after shaping.
5. Quality Checks
- Adhesion Tests: Follow ASTM C794—pull a 2″ strip; if sealant tears (not the bond), it’s good.
- Document Everything: Note weather, batch numbers, prep steps, and test results.
6. Common Mistakes
- Skipping cleaning or primer.
- Wrong joint size.
- Ignoring temperature limits.
- Mixing multi-part sealants poorly.
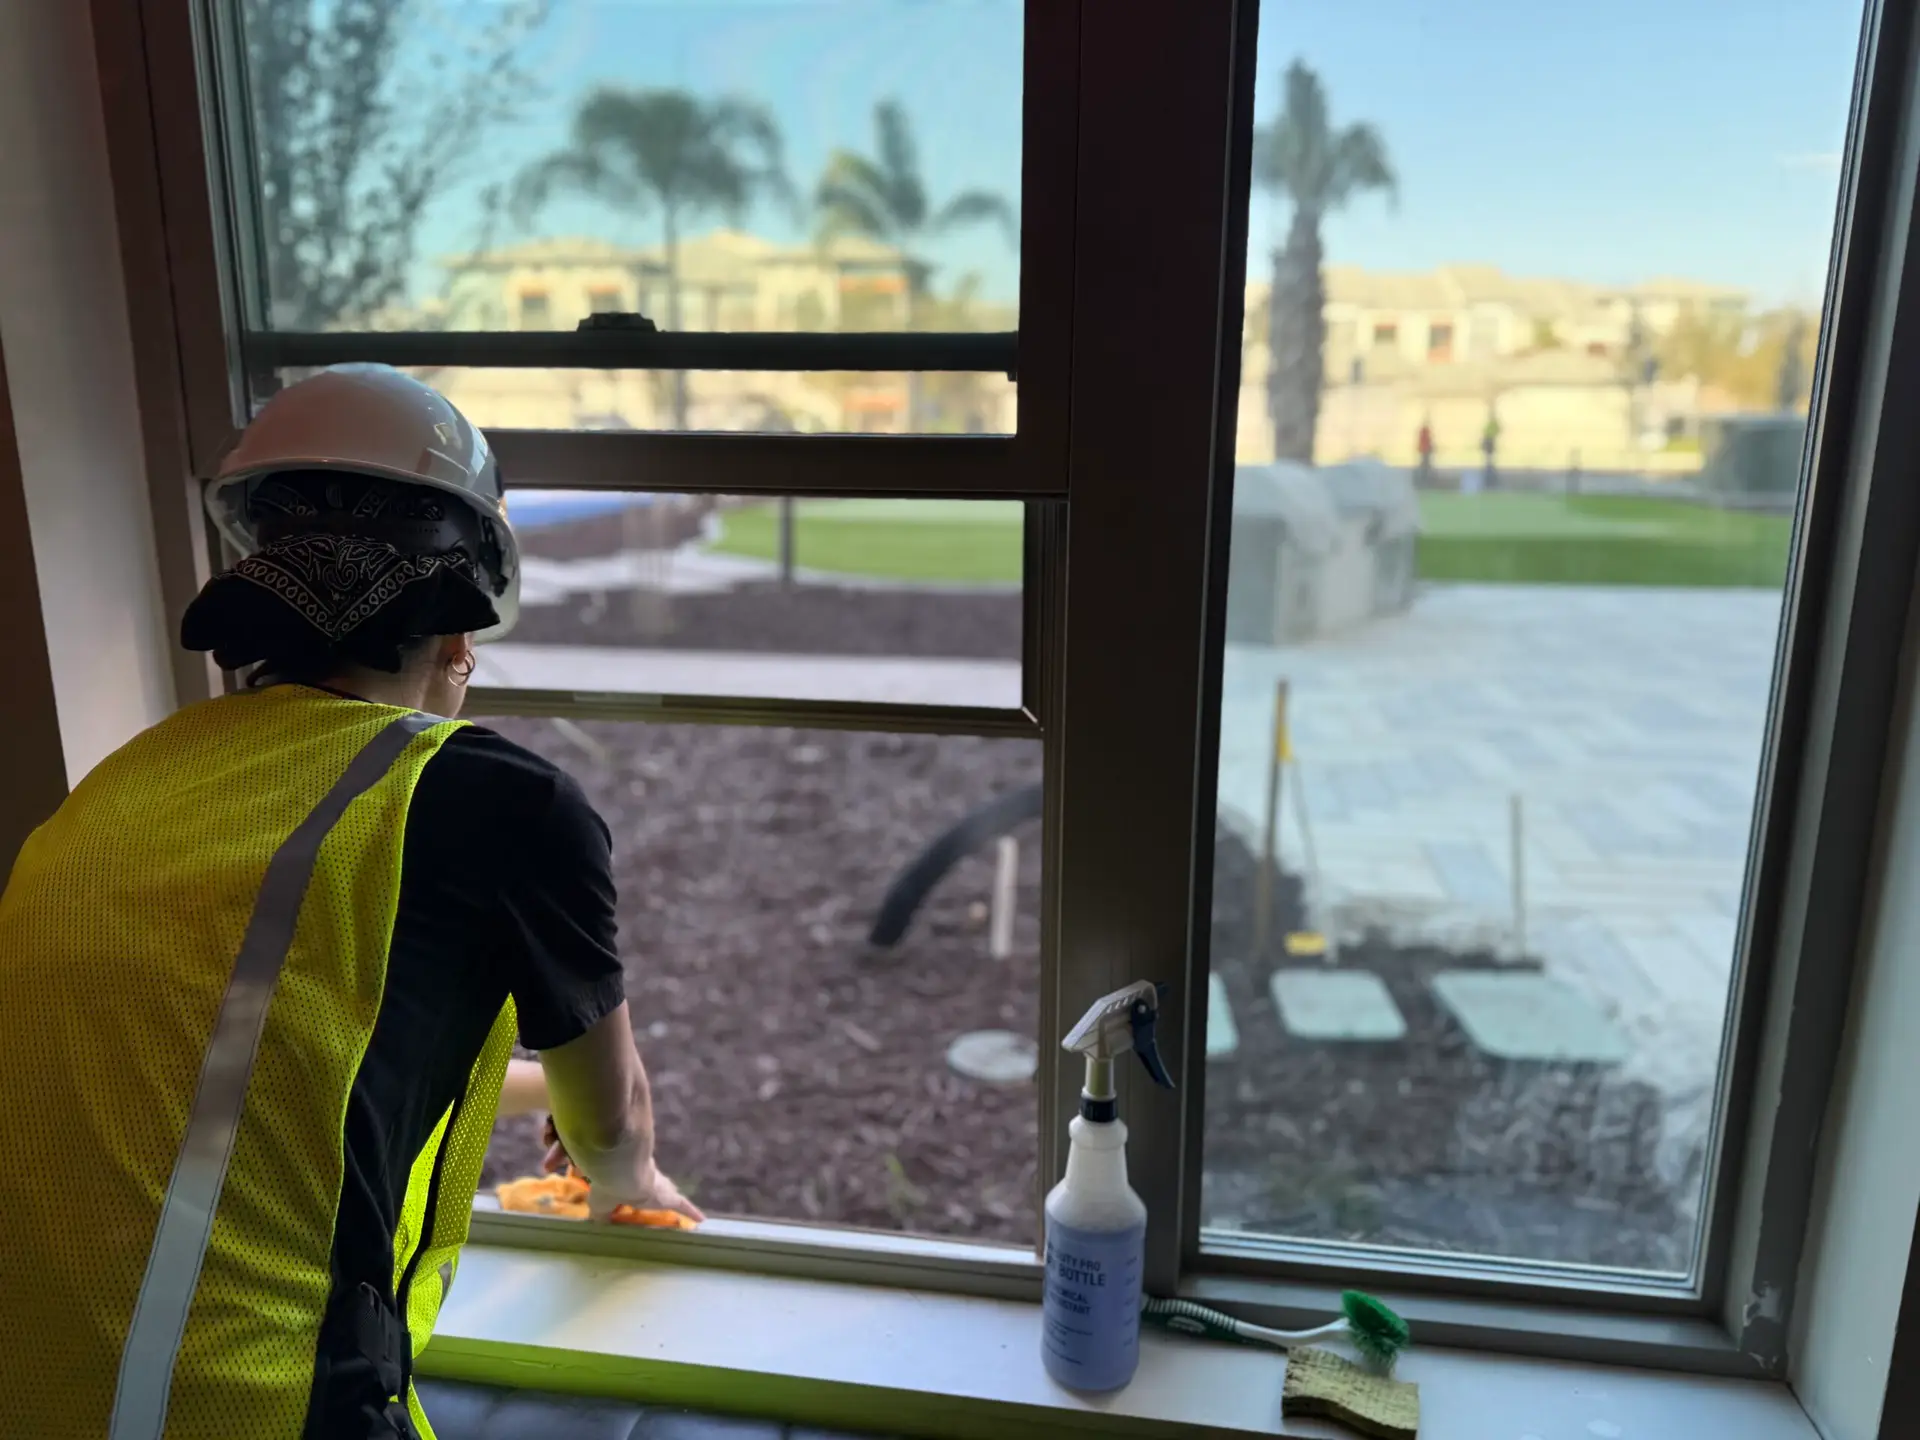
Professional post-construction cleaning that protects your sealant investment. Click Here
Maintenance & Monitoring
- Inspect: Check every 3 months for cracks, discoloration, or gaps. After storms, check exterior seals.
- Test Flexibility: Press gently—if it dents more than 1/16″, it’s weakening.
- Clean Safely:
- Silicones: Most cleaners OK (avoid strong solvents).
- Polyurethanes: Use pH-neutral cleaners.
Key Takeaway: Great results start with proper prep and the right conditions. Regular checks and gentle cleaning keep sealants working longer—saving time and money!